How to Upload Certificates Azure Root Point to Site Vpn Resource
Point-to-Site Virtual Private Network (VPN) connections are helpful when you want to connect to your VNet from a remote location. This helps u.s. securely connect private clients running Windows, Linux, or macOS to an Azure VNet. This weblog will outline steps to create and test a Point to Site VPN while using an Azure Certificate Authentication method.
Create a VNet
Sign in to the Azure portal.
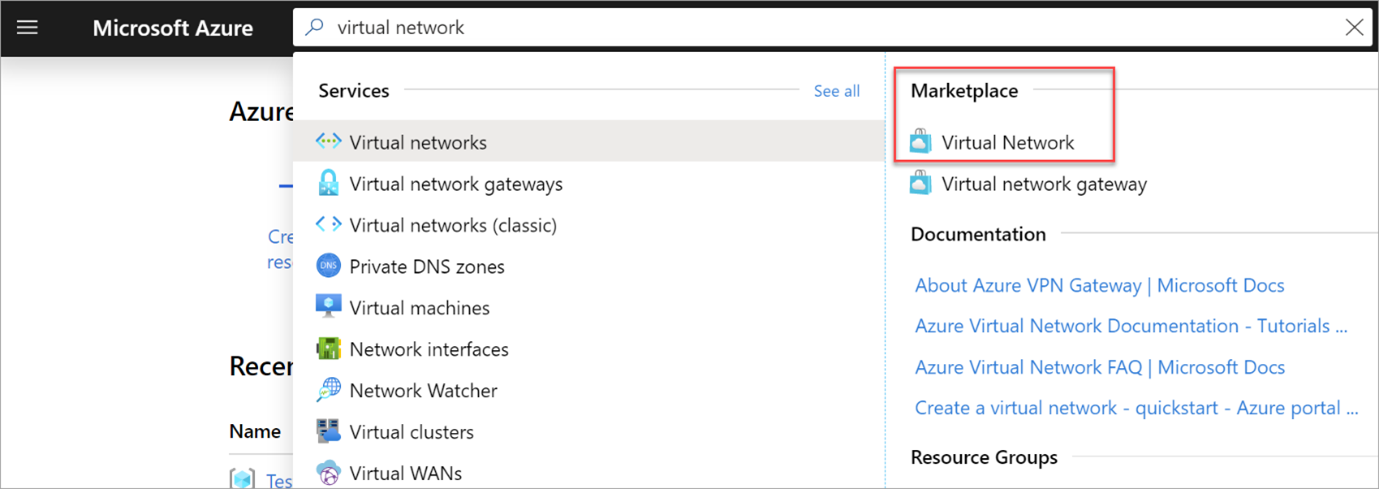
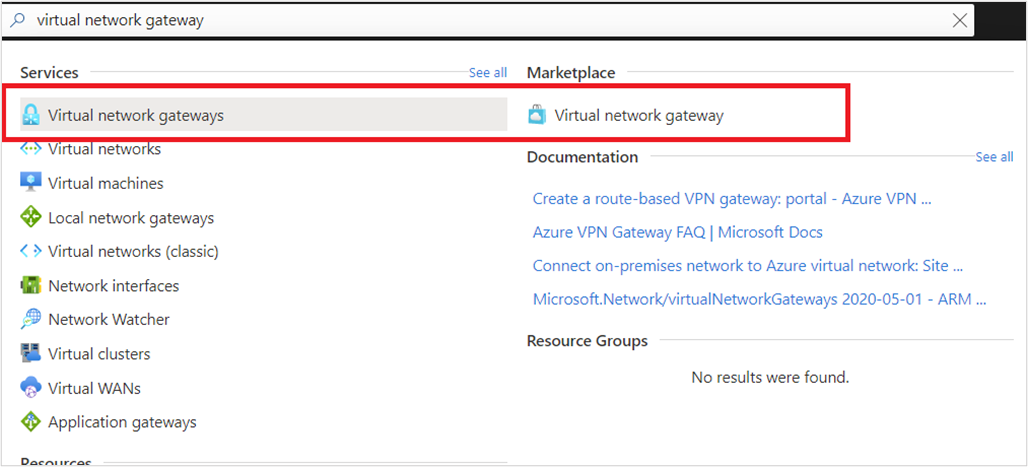
In Search, blazon Virtual Network.
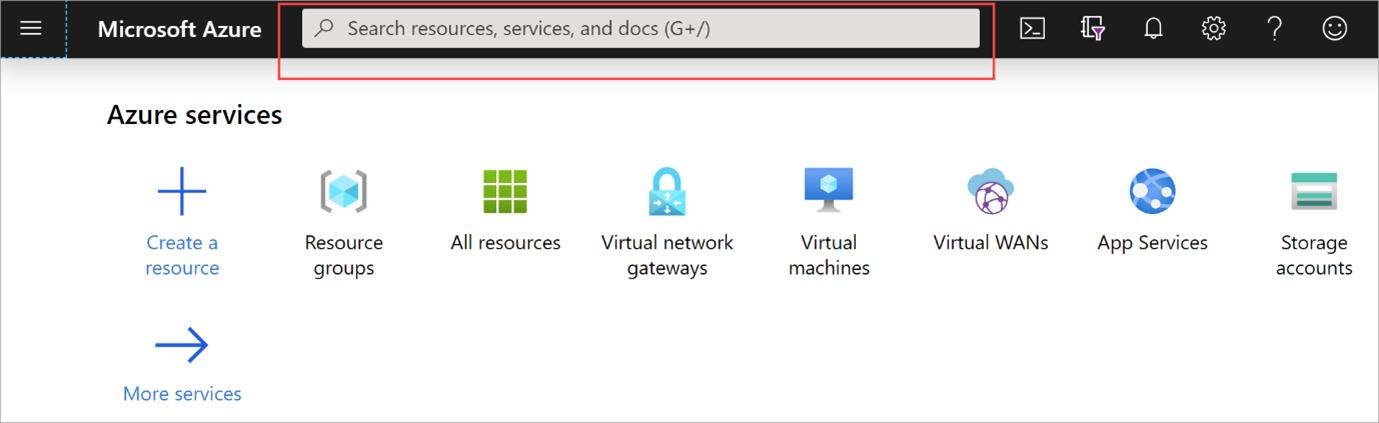
Select Virtual Network from the Marketplace results.
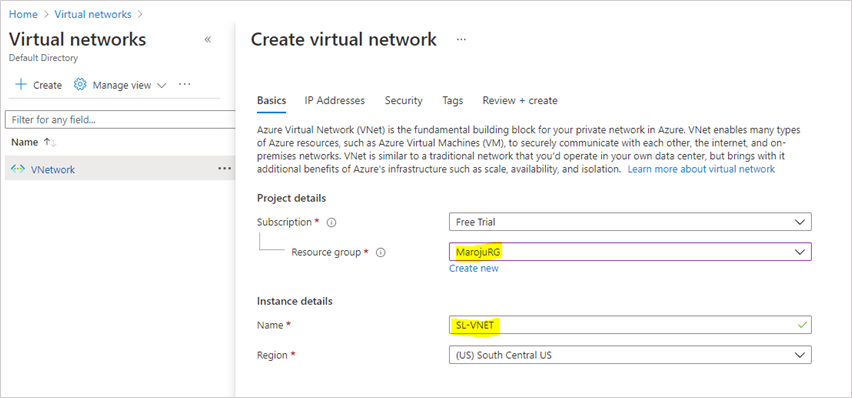
Once you select Create, the Create virtual network folio will open.
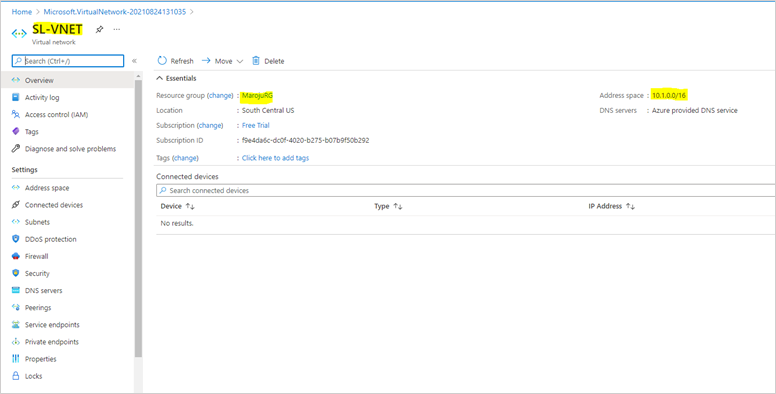
On the Basics tab, configure Project details and Example details VNet settings.
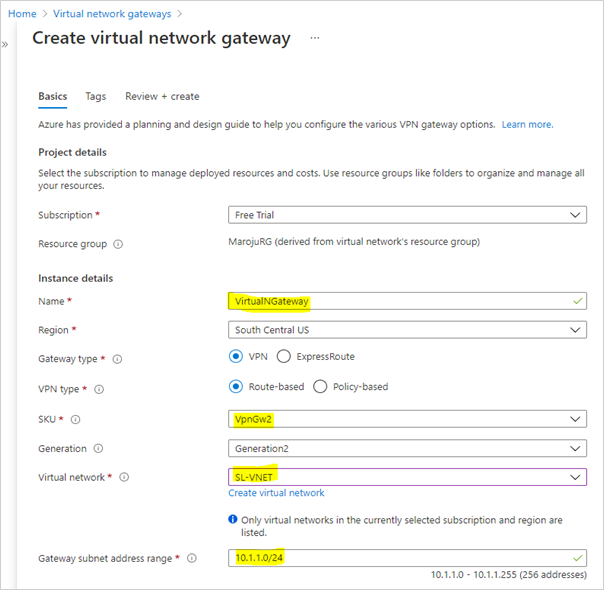
Create the VPN Gateway
A VPN gateway is a specific type of virtual network gateway used to send encrypted traffic between an Azure virtual network and an on-bounds location over the public Cyberspace. Each virtual network can accept merely one VPN gateway. The virtual network gateway uses a specific subnet called the gateway subnet. The gateway subnet is part of the virtual network IP address range yous specify when configuring your virtual network. It contains the IP addresses that the virtual network gateway resources and services use.
On the Nuts tab, fill in the values for Project details and Example details.

Annotation: Deployment of the virtual network gateway may take upwardly to 45 minutes.

Looking to grow your career in Azure? We're growing apace and we're looking for talent to bring together the team. View our open career opportunities today.
Generating Certificates
Azure uses certificates to cosign clients connecting to a VNet over a Point-to-Site VPN connection. Once yous obtain a root certificate, y'all upload the public key information to Azure. The root certificate is then considered 'trusted' past Azure to connect P2S to the virtual network. Yous besides generate client certificates from the trusted root certificate and so install them on each client computer. The client certificate is used to authenticate the client when it initiates a connection to the VNet.
Generate a Root Certificate
Use either a root certificate generated with an enterprise solution (recommended) or generate a self-signed document. After creating the root certificate, export the public certificate information (not the private key) equally a Base64 encoded 10.509 .cer file. Then, upload the public certificate data to the Azure server.
Open PowerShell as an Administrator and run the post-obit script.
$cert = New-SelfSignedCertificate -Type Custom -KeySpec Signature ` -Subject "CN=SLP2SRootCert" -KeyExportPolicy Exportable ` -HashAlgorithm sha256 -KeyLength 2048 ` -CertStoreLocation "Cert:\CurrentUser\My" -KeyUsageProperty Sign -KeyUsage CertSign
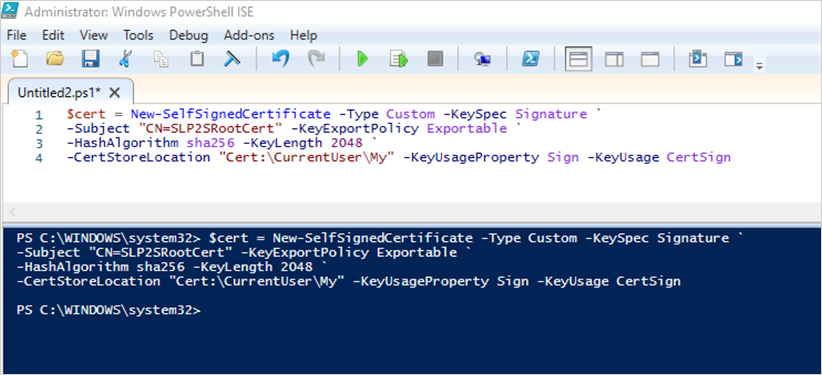
This volition create a root cert and install it under the electric current user cert store.
Generating Client Certificates from Root Document
Open PowerShell as an Administrator and run the following command:
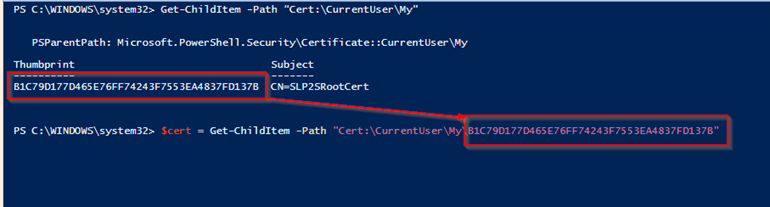
Get-ChildItem -Path "Cert:\CurrentUser\My"
This should provide a thumbprint:
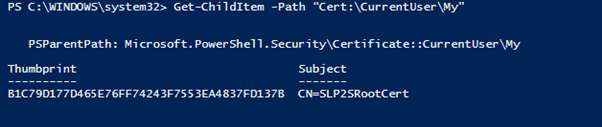
Side by side, run the post-obit command. The thumbprint should mutch to your Document.
$cert = Get-ChildItem -Path "Cert:\CurrentUser\My\B1C79D177D465E76FF74243F7553EA4837FD137B"
Finally, you lot'll need to run this to generate your customer certificate.
New-SelfSignedCertificate -Type Custom -KeySpec Signature ` -Subject "CN=SLP2SClientCert" -KeyExportPolicy Exportable -NotAfter (Become-Date).AddYears(i) ` -HashAlgorithm sha256 -KeyLength 2048 ` -CertStoreLocation "Cert:\CurrentUser\My" ` -Signer $cert -TextExtension @("ii.5.29.37={text}1.3.6.1.five.5.7.3.ii") 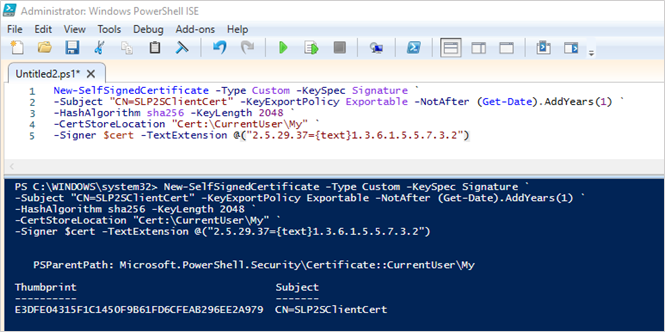
We now accept certs in place, Just we need to consign the root certificate to upload it in Azure.
Commencement, export the root certificate public key (.cer)
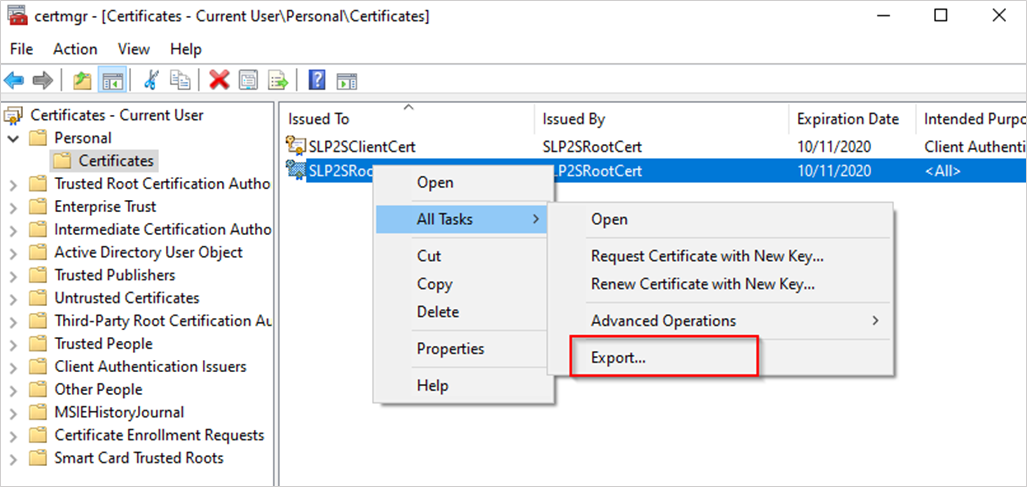
Hit the Windows Central + "R", to bring up the Run dialog box and type in "certmgr.msc". When the management console opens, you should run into your newly created certificate in "Electric current User\Personal\Certificates". Correct-click on your newly created cert and go to All Tasks > Consign.
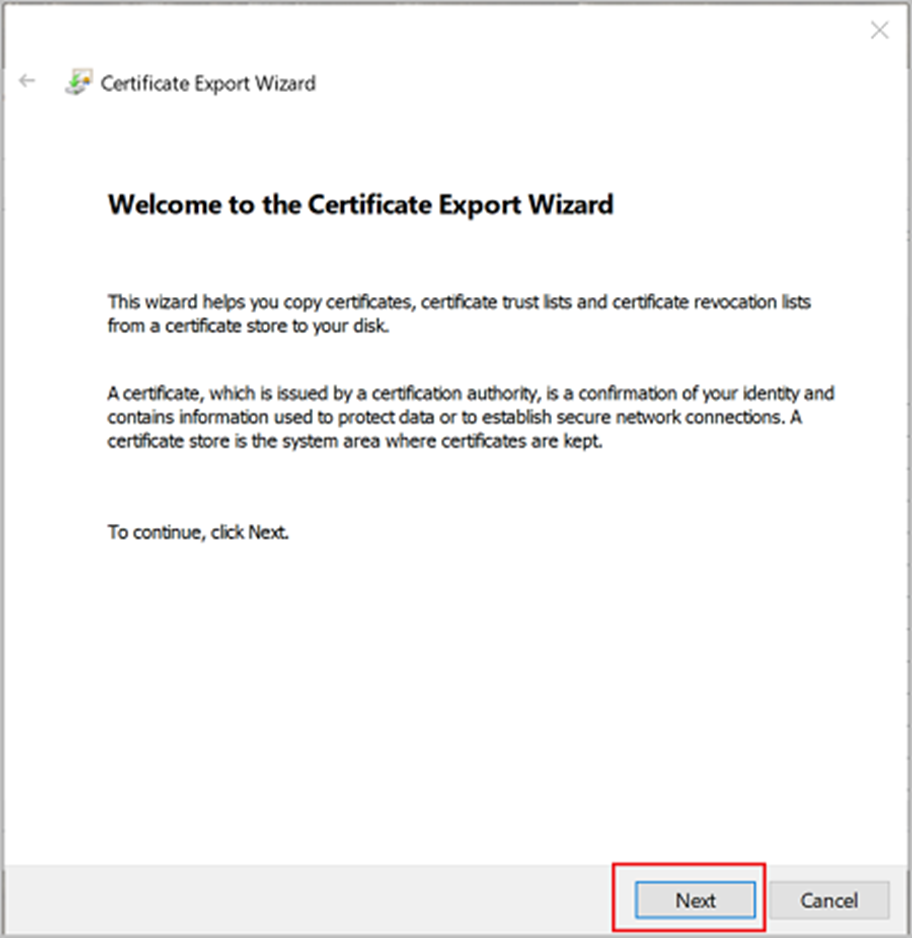
In the Wizard, click Adjacent.
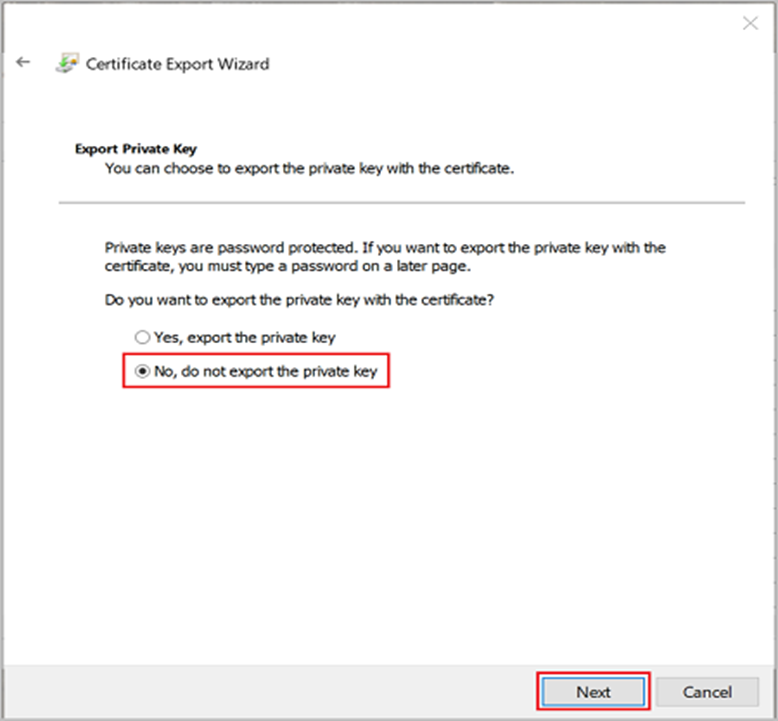
Select No, do not export the private key, and then click Side by side.
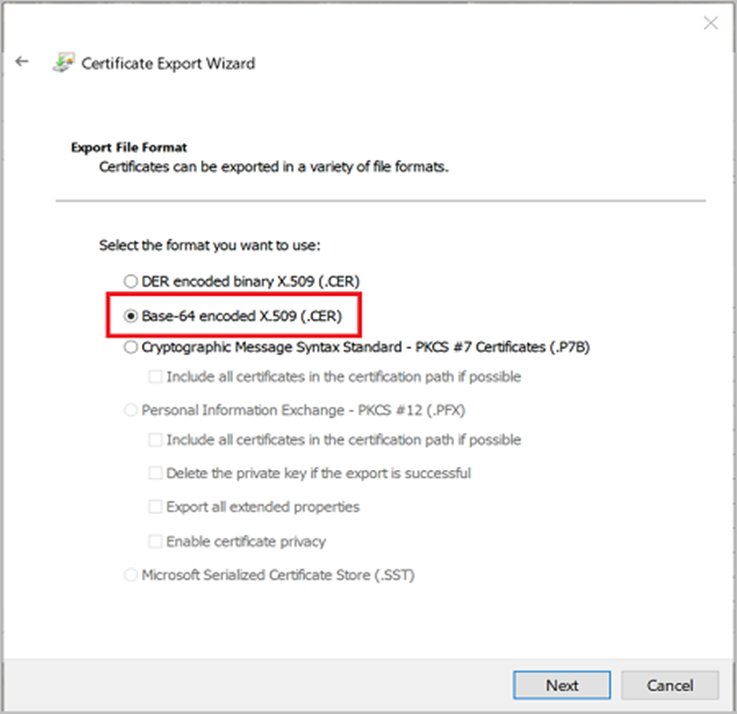
On the Export File Format folio, select Base-64 encoded X.509 (.CER)., and then click Next.
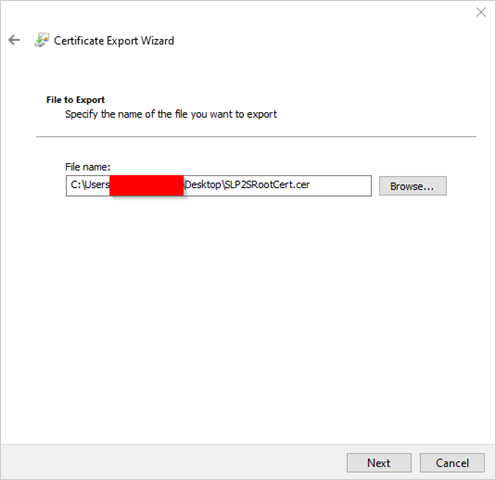
For File to Export, Browse to the location to which you want to export the certificate. Specify your file name. Then, click Next.
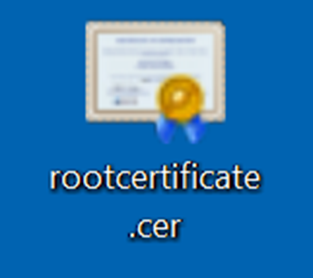
Click Finish to export the certificate. Your certificate is successfully exported!
The exported certificate looks similar to this:
If you open the exported certificate using Notepad, you run across something similar to this instance. The department in blue contains the information that is uploaded to Azure. If you open your document with Notepad and it does not look similar to this, typically, this ways you did not consign it using the Base-64 encoded X.509(.CER) format. Additionally, if you want to use a dissimilar text editor, some editors can innovate unintended formatting in the background. This can create issues when uploading the text from this certificate to Azure.

Configure Point to Site Connectedness
- The next stride of this configuration is to configure the point-to-site connection. Here nosotros volition define the customer IP address pool also. Information technology is for VPN clients.
- Click on the newly created VPN gateway connexion.
- Then in a new window, click on Betoken-to-site configuration
- Click on Configure Now
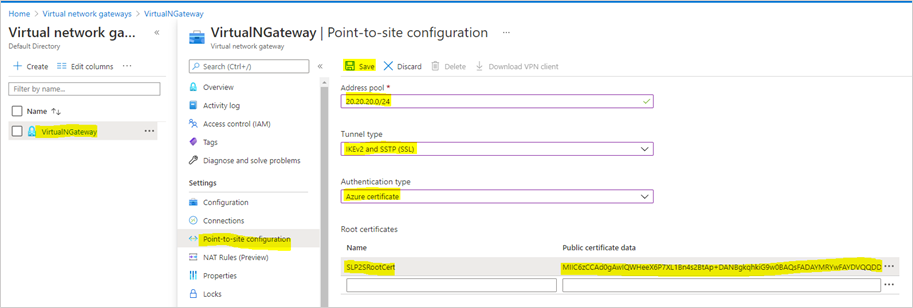
- In a new window, type the IP address range for the VPN address puddle. We volition exist using 20.twenty.xx.0/24. For tunnel, type use both SSTP & IKEv2. Linux and other mobile clients, by default, apply IKEv2 to connect. Windows also use IKEv2 kickoff and then try SSTP. For hallmark type, use Azure Certificates.
- In the aforementioned window, there is a identify to define a root certificate. Under root certificate proper name, blazon the cert name and nether public certificate data, paste the root certificate data ( you can open cert in notepad to get information).
- And so click on Relieve to complete the procedure.
- Note: when you paste certificate data, do non re-create —–Begin CERTIFICATE—– & —–END Document—– text.
Testing VPN Connection
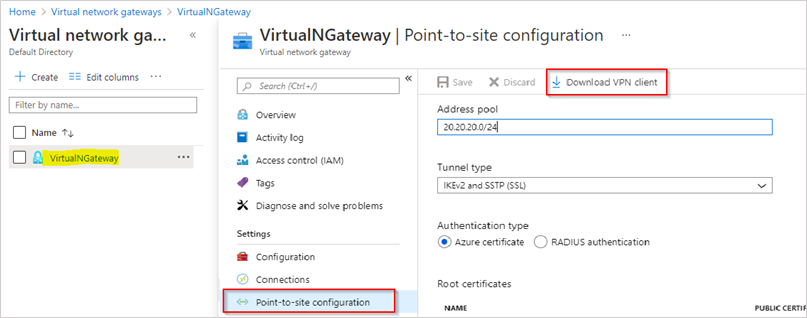
Log in to Azure portal from the machine and go to VPN gateway configuration page.
Click on Point-to-site configuration.
Next, click on Download VPN client.
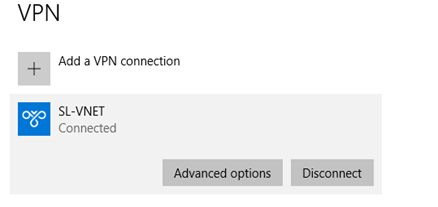
Nosotros can see a new connection nether the windows 10 VPN page.
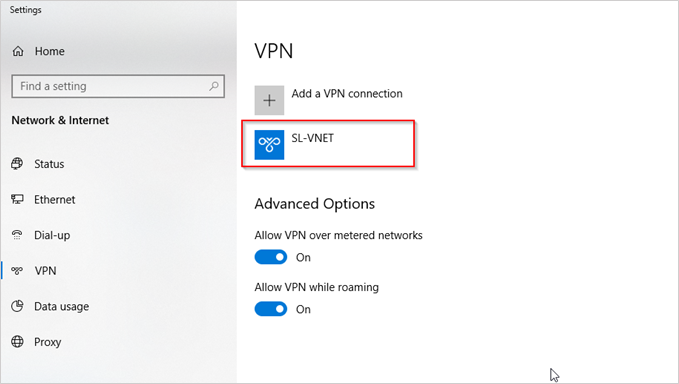
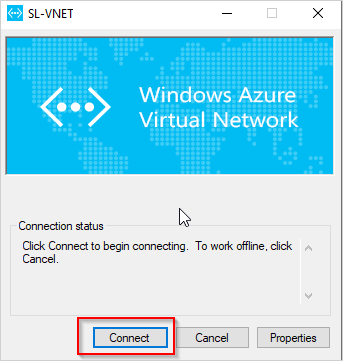
Click on connect to VPN. Then it volition open this new window. Click on Connect.
Run ipconfig to verify IP allotment from VPN address pool.
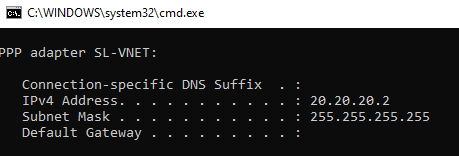
Congratulations! Y'all've successfully configured a Point to Site VPN Connection using Azure Certificate Hallmark.
AIS has been working with Azure since 2008. Interested in learning more? Achieve out to AIS today.
kaiserseentrusted.blogspot.com
Source: https://www.ais.com/how-to-configure-point-to-site-vpn-connection-using-azure-certificate-authentication/
0 Response to "How to Upload Certificates Azure Root Point to Site Vpn Resource"
Enregistrer un commentaire